从Affy Axiom的CEL文件导出LRR和BAF
不知道LRR和BAF是什么?没关系,说明还用不上这两个东西,等有需要的时候再来参考本文吧。
还是以鸡的Affymetrix Axiom(Axiom_GW_GT_chicken)芯片为例。其他物种方法相同,仅将芯片注释文件换成相应物种的注释文件即可。
一 准备文件和下载APT软件
1、新建文件夹cel_files,将CEL文件都放入该文件夹内。
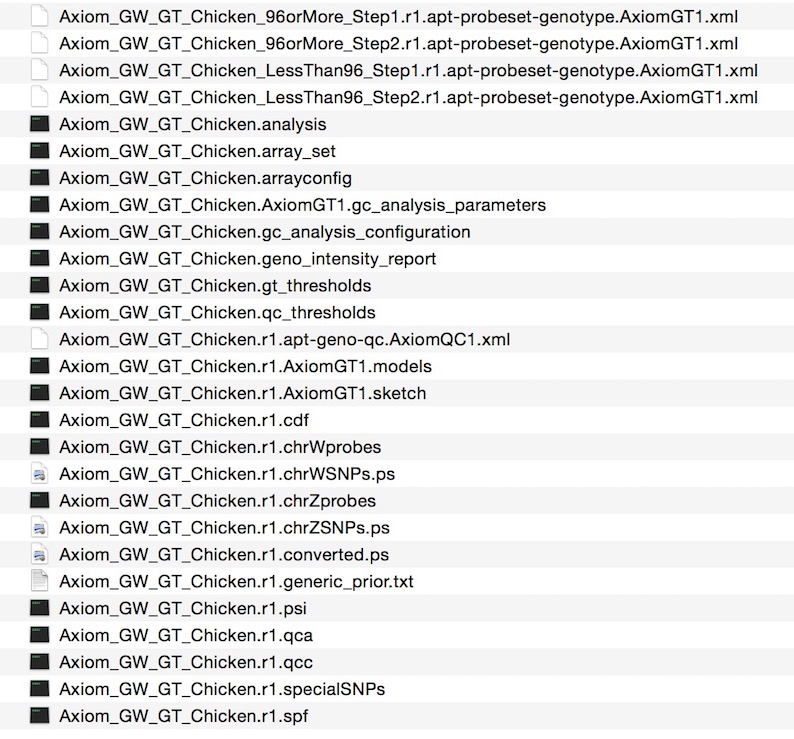
2、下载该芯片的解析文件。进入Affymetrix官网,”Products > Microarry Solutions > DNA Analysis Solutions > Agrigenomics Solutions > Arrays > Species > Chicken > Axiom® Genome-Wide Chicken Genotyping Array > Technical Documents > Library Files”中下载”Axiom Genome Wide Chicken Analysis Files”(约59MB),下载下来的文件其实是Axiom_GW_GT_Chicken_Analysis.r1.zip。解压为Analysis_r1文件夹,里面的情况大概是这样子的。
3、下载该芯片的SNP位点的注释文件。”Products > Microarry Solutions > DNA Analysis Solutions > Agrigenomics Solutions > Arrays > Species > Chicken > Axiom® Genome-Wide Chicken Genotyping Array > Technical Documents >Current NetAffx Annotation Files”,下载CSV格式的注释文件(44MB),实际文件名为Axiom_GW_GT_Chicken.na35.annot.csv.zip。解压后得到Axiom_GW_GT_Chicken.na35.annot.csv文件。
4、下载Affymetrix Power Tools软件包。按计算机系统下载相应版本的APT,目前支持windows、MAC OS和Linux,都是64位的。解压为apt文件夹,apt下的bin文件夹中是编译好的可执行程序,windows请在MS-DOS下使用,linux和mac用户请打开终端。
5、将上述四个文件或文件夹放到工作目录workdir中,文件结构是这样的:
workdir - - apt <directory>
		|
		- - cel_files <directory>
		|
		- - Analysis_r1 <directory>
		|
- - Axiom_GW_GT_Chicken.na35.annot.csv <csv file>6、准备celfiles.txt。打开终端执行以下命令。
cd workdir
echo cel_files >celfiles.txt
ls cel_files| sed 's/^/\.cel_files\/&/' >>celfiles.txt
二、Affymetrix Power Tools处理CEL文件
1、 Analysis DQC
./apt/bin/apt-geno-qc
	-a Analysis_r1/Axiom_GW_GT_Chicken.r1.qca
	-q Analysis_r1/Axiom_GW_GT_Chicken.r1.qcc
	-c Analysis_r1/Axiom_GW_GT_Chicken.r1.cdf
	--chrZ-probes Analysis_r1/Axiom_GW_GT_Chicken.r1.chrZprobes
	--chrW-probes Analysis_r1/Axiom_GW_GT_Chicken.r1.chrWprobes
	--target-sketch Analysis_r1/Axiom_GW_GT_Chicken.r1.AxiomGT1.sketch
	--cel-files celfiles.txt
上述命令等同于,
./apt/bin/apt-geno-qc
	-xml-file Analysis_r1/Axiom_GW_GT_Chicken.r1.apt-geno-qc.AxiomQC1.xml
	--analysis-files-path Analysis_r1
--cel-files celfiles.txt生成apt-geno-qc.log和apt-geno-qc.report.txt。
2、提取QC后的个体,生成新的qc_celfiles.txt
# R 中执行操作
setwd("workdir")
qc.file<-read.table("apt-geno-qc.report.txt",header=T)
after.qc<-qc.file[qc.file[,"axiom_dishqc_DQC"]>0.82,]
celfiles<-paste0(“./cel_files/”,after.qc[,1])
write.table(celfiles,file="qc_celfiles.txt",col.names="cel_files",sep="\t",quote=F)
3、Analysis QC step1
./apt/bin/apt-probeset-genotype
	--cel-files qc_celfiles.txt
	--analysis-files-path Analysis_r1
	--xml-file Analysis_r1/Axiom_GW_GT_Chicken_96orMore_Step1.r1.apt-probeset-genotype.AxiomGT1.xml
	--summaries
--write-models生成apt-probeset-genotype.log,AxiomGT1.calls.txt,AxiomGT1.confidences.txt, AxiomGT1.normalized-summary.txt, AxiomGT1.report.txt, AxiomGT1.snp-posteriors.txt, AxiomGT1.summary.txt文件。
4、提取CALL RATE 大于0.97的个体,生成新的qc2_celfiles.txt
# R 中执行操作
setwd("workdir")
qc2.file<-read.table("AxiomGT1.report.txt",header=T)
after.qc2<-qc2.file[qc2.file[,"call_rate"]>0.97,]
celfiles2<-paste0(“./cel_files/”,after.qc2[,1])
write.table(celfiles2,file="qc2_celfiles.txt",col.names="cel_files",sep="\t",quote=F)
5、Analysis QC step2
./apt/bin/apt-probeset-genotype
	--cel-files qc_celfiles.txt
	--analysis-files-path Analysis_r1
	--xml-file Analysis_r1/Axiom_GW_GT_Chicken_96orMore_Step2.r1.apt-probeset-genotype.AxiomGT1.xml
	--summaries
--write-models生成apt-probeset-genotype.log,AxiomGT1.calls.txt,AxiomGT1.confidences.txt, AxiomGT1.normalized-summary.txt, AxiomGT1.report.txt, AxiomGT1.snp-posteriors.txt, AxiomGT1.summary.txt文件,会覆盖Step1中产生的文件。
三、根据AxiomGT1.summary.txt计算LRR和BAF。
下载cal_lrr_baf.R。地址:https://github.com/geneticswithme/hello_genetics/blob/master/cal_lrr_baf.R
source("cal_lrr_baf.R")
cal_LRR_BAF(calls.file="AxiomGT1.calls.txt",summary.file="AxiomGT1.summary.txt",annotation.file="Axiom_GW_GT_Chicken.na35.annot.csv", LRR.output.name="LRR.txt", BAF.output.name="BAF.txt")
生成LRR和BAF文件。